




Many households encounter a common problem when cleaning window screens or replacing screen mesh: complete beginners have no idea how to take down and reinstall window screens. They fear forcing the screen will damage the window frame and screen frame, so they dare not try it themselves. In fact, disassembling and assembling household window screens is extremely simple. No professional tools or hired technicians are required; you can finish the whole process within minutes by yourself. Today we provide a full uncut operation tutorial with step-by-step instructions to help you easily remove and install window screens. You can master the operation right after reading this guide!
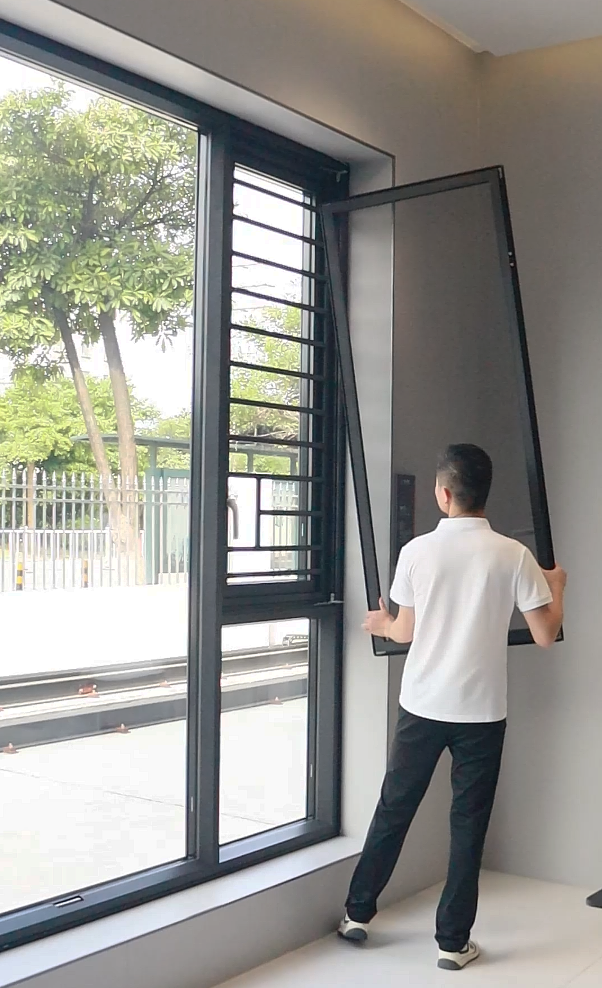
I. Detailed Steps for Window Screen Removal
Step 1: Open the window screen. Slide the window screen open normally to reserve sufficient operating space, which facilitates unscrewing fasteners and lifting the screen later and avoids bumping the window frame due to limited operation space.
Step 2: Unscrew the bottom fixing screw. The fixing screw of most household window screens is mounted at the lower part of the screen. Locate the screw and loosen and remove it with a matching screwdriver; this is the key step to unlock the window screen.
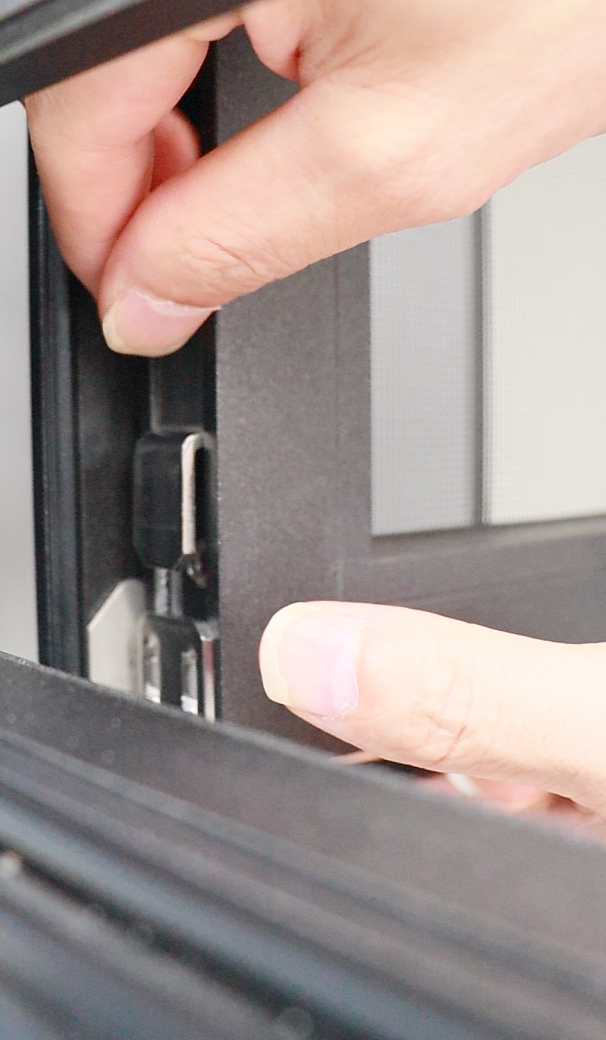
Step 3: Lift the screen to separate it from the frame. After removing the screw, hold the screen frame with both hands and lift the whole screen gently upward to disengage the bottom of the screen from the lower fixing groove.
Step 4: Pull out and take down the screen. While lifting upward, pull the bottom of the screen outward slightly to fully disengage the top and bottom retaining lugs from the window frame track, then you can take out the entire window screen effortlessly. The whole removal process is labor-saving and convenient.
II. Detailed Steps for Window Screen Installation
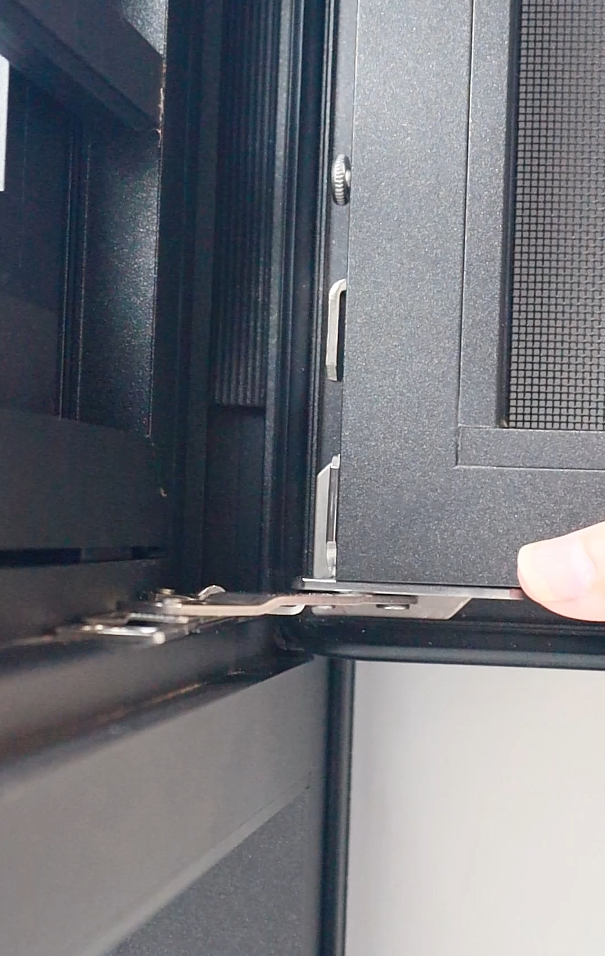
Step 1: Align and insert the top retaining lugs. Pick up the window screen, align the top border of the screen frame with the upper groove of the window frame, insert the lugs steadily into the groove, and ensure the top is tightly fitted without offset or looseness.
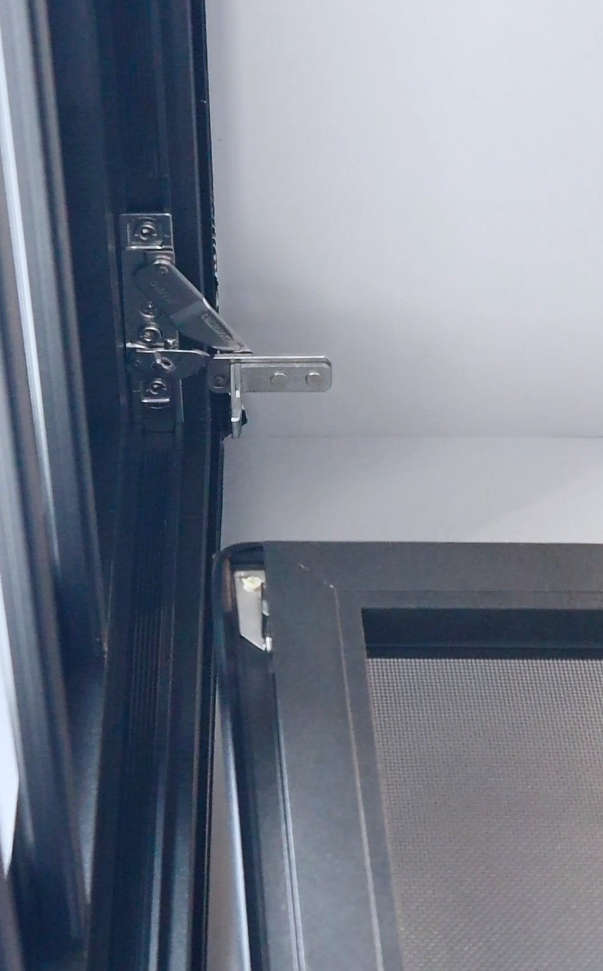
Step 2: Align the bottom latches. After securing the top part, align the bottom of the screen with the lower latches of the window frame and match the groove interface precisely. If the lugs get stuck during fitting, shake the screen frame slightly to help the screen slide smoothly into the track until both top and bottom parts fit tightly.